The Ultimate Guide to Removing Smoke and Soot from Walls
Walls exposed to smoke and soot can become discolored and emit odors that affect the overall ambiance of your home. Whether due to a fireplace mishap, cooking accident, or unfortunate fire event, removing smoke and soot effectively is crucial for restoring your living space. This guide provides comprehensive steps and insights into the removal process, ensuring your walls are clean and odor-free.
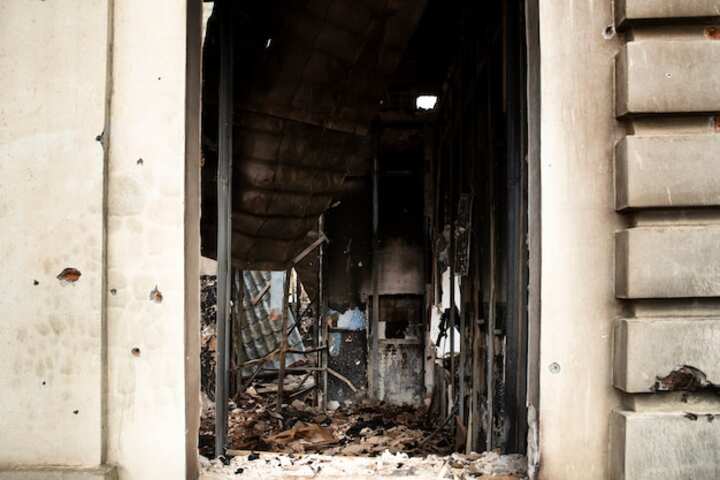
Understanding Smoke and Soot Damage
Smoke and soot damage occurs when incomplete combustion of materials releases carbon and other particles into the air. These particles settle on surfaces, causing discoloration and potentially harmful residues.
Common Effects of Smoke and Soot on Walls
- Yellowing or darkening of paint
- Persistent odors
- Potential corrosion of wall materials
- Health hazards due to toxic residues
For more information on the effects of smoke and soot, read more about this topic.
Preparing for Smoke and Soot Removal
Before beginning the cleaning process, it is essential to prepare the area and gather the necessary tools. This ensures safety and efficiency.
Essential Tools and Materials
- Protective gear (gloves, mask, goggles)
- Vacuum with a HEPA filter
- Cleaning solutions (vinegar, trisodium phosphate)
- Soft cloths and sponges
- Bucket and warm water
Learn more in this detailed guide on how to prepare effectively: Explore further insights here.
Step-by-Step Smoke and Soot Removal Process
Step 1: Safety First
Always wear protective gear to prevent exposure to harmful residues. Ensure the area is well-ventilated by opening windows and doors.
Step 2: Vacuum the Walls
Use a vacuum with a HEPA filter to gently remove loose soot particles from the wall surface. Avoid pressing too hard to prevent smearing.
Step 3: Apply Cleaning Solution
Prepare a cleaning solution using one of the following:
- 1 cup of vinegar mixed with 1 gallon of warm water
- Trisodium phosphate mixed according to the manufacturer's instructions
Dip a soft cloth or sponge into the solution, then gently wipe the walls. Start from the bottom and work your way up to prevent streaking.
Step 4: Rinse and Dry
After cleaning, rinse the walls with clean warm water to remove any residual cleaning solution. Use a fresh cloth to dry the walls thoroughly.
For a more detailed step-by-step process, find additional information here.
Preventing Future Smoke and Soot Damage
Implementing preventative measures can significantly reduce the risk of future smoke and soot damage to your walls.
- Ensure proper ventilation in areas prone to smoke exposure, such as kitchens and near fireplaces.
- Regularly maintain and clean chimneys and exhaust fans.
- Utilize air purifiers to reduce airborne particles.
Read more about this topic for a comprehensive understanding of prevention techniques.
Conclusion
Effectively removing smoke and soot from walls is vital for maintaining a clean and healthy living environment. By understanding the nature of smoke damage, preparing adequately, and following a systematic cleaning process, you can restore your walls to their original condition. For more in-depth guidance, explore further insights here.